Wednesday, 8 October 2014

Evaluation

Evaluation-  
The main theme of this mannequin but I decided to base my final photo shoot on still life, I did research on historical and contemporary photographers who based there theme on mannequin.  I liked Madame Peripetie the most out of the photographers I chose because of the bright colours she uses and how unique her work is.


The task for the diptych with the accessories I chose to do a shoe and a watch against a black marble tiling because I wanted to make the two most important things stand out the most and this is what I thought would make them stand out.


When I did the shoot for the mannequin and model I took some really good images but when I went to transfer them onto the computer most of them has corrupted because of the kind of image they was, so I had to use the ones I had.


The still life shoot went really well because I had images that where really bright and really dark so I had to change the settings on the camera to make the image just right.

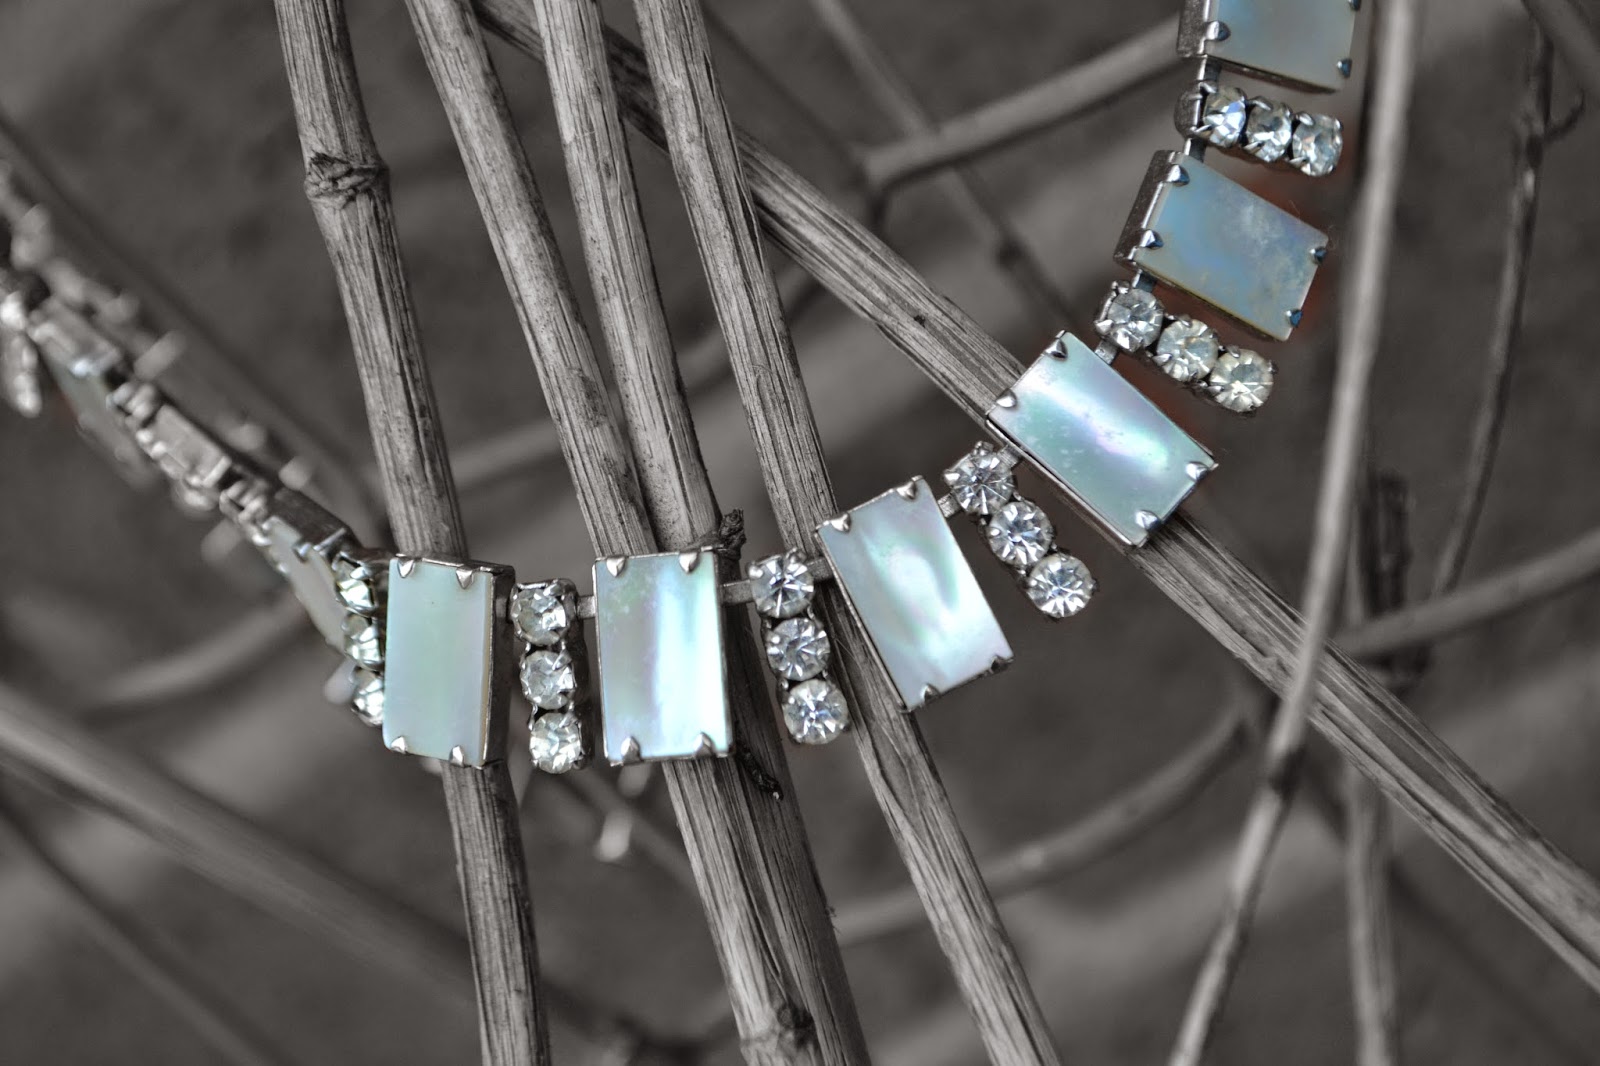
When I did my photo shoot I chose to do jewellery because I wanted to capture the beauty in one of the necklaces my great grandmother give me before she passed away. I did different effect on the final images because I wanted to see it in different contrasts and different colours. I was going to do another photo shoot with a model because I wanted to do two different photo shoots on the necklace because of how much it means to me but when I went to my location the model didn’t turn up so I just did one photo shoot. I was really impressed with my photo shoot with the necklace because I got the images I wanted and when I planned my shoot. The research I did for task1 influenced me because I like how Madame Peripetie used accessories in her work and makes them stand out more than the model. 

Thursday, 2 October 2014

My Final Images


final shoot contact print


risk assessment


Assessment Reference:
Mannequin
Activity Description:
Photo shoot
Date:
02/10/2014
Student
Ashleigh Peacock

Review Date:

Assessment Team Members:

Overall Potential Risk Factor:

Course Details:
ED Photography


Number of People Exposed:
1


Names of People Exposed:
Ashleigh peacock
Building-Place & Exact Location
Backgarden- 14 markington place
Is This An Acceptable Risk?


Hazard
Persons At Risk and How
Existing Control Measures
What are you currently doing to prevent it?
Probability
Severity
Risk Level
Additional Control Measures
What else do you need to do?
Probability
Severity
Risk Level
trip
Me could injure myself
Clear the area
2
2
4-low


slip
Me could injure myself
Make sure its dry when shooting
3
3
9-medium


Assessment Conclusion


lens and techniques

Nikon D3100
Lenses
50mm-
This lens gives the image a blurred background. It is really good when doing low light photography. It has the aperture of F1.8 when you have gone from your typical kit lens which is usually f5.6 this lens gives you 3 stops of light coming through the lens when the lens is open. this allows you to use either a faster shutter speed, or a lower ISO or a combination of both. it also gives the image a really sharp look on the point you focus on.


18-55mm-

This lens gives you a wide angle view and is normally used in indoor, people and landscape/scenery shots. It lets you zoom in more and gives you a more focused image.


Techniques-

Bokeh- this technique is the visual quality of the out of focus blur in a photograph. This is when the background looks like it’s made out of blurred circles. You would need a lens that would have a small aperture setting.

Silhouette- a silhouette is an outline that appears against a light background.  This is when your subject is seen as a black shape without details against a brighter background. You could use any lens to do this kind of photo it just depends on what settings you have your camera on, normally it should be on a low ISO setting between 100-200 and the aperture should be around f/8, the exposure should be between -1 to -3 it depends how much sky you have in the image the more sky the less negative compensation you will need.


photo shoot planning

  Planning

Time and date- 21/09/2014 at 2pm

Style-accessories

Location- back garden- 14 Markington place

Time frame-about an hour

Lighting- natural light but if the lighting is dark use flash

Health and safety and risk assessment- done

Equipment- necklace, Camera, Batteries

Back-up plan-

If it rains I will have to do my shoot another day or in the rain but make sure that the necklace doesn't get wet.


Target audience- this shoot is suitable from the age of 16+

Communication of concepts-

My idea is to capture the beauty of a necklace when I take pictures of the necklace 

diptych 2

This is my first mannequin diptych, we had to pose the mannequin in a position and the take the image. then i had to place the model in the same place and position and take the image from the same position and angle i took the mannequin photo in. 


i took more images then this but the files where corrupted. on the shoot i had to pose the mannequin and then take images at different angles and then have a model do the same pose in the same position and take the image from the same high and position you took the picture of the mannequin.